We went through a few of the problems and solutions, firstly the bed from the bedroom scene didn't look like it was laying naturally because you could see where it'd been stretch to staple against the wall. I think we knew this was going to look a bit ropey from the beginning though as we had limited resources to make a realistic bed and also didn't have much time to set it up as the cinematographers were there. I liked the effect of Paul rising up from the bed though and I thought he acted it out well, if the bed and rest of the background had been spot on then this would have been a really effective shot.
Where Paul's smaller self had been green screened onto the fireplace there were a couple of problems for example bits of his arm had gone a bit transparent which I think was to do with the lighting and shadow when he was being filmed in front of the screen. He also looked a bit placed in the shot so it didnt really look like he was actually standing on the mantle piece which again is all about how it's shot considering the lighting and also the angles.
When it came to the fake hand and arm on camera you could tell they weren't real but with a bit more detail i.e skin tones, hairs etc and time taken over them they could have been a lot more realistic. The bloody oozing scab on the arm looked quite effective with the blood coming out of it but where the stuff had dried created a bit of a contrast between that and the blood coming out as you could tell it was dry and not wet and fresh how it should've looked. This is a good thing to know for next time as the art directors may need to use a different solution to make the blood effect or paint it on right before filming so it looks fresh.
Another way to get round this would be to use an image of a real arm and composite it over the top or just use visual effects more than special effects if you have the resources.
In this lesson we looked at how you link Premier to After Effects (AE) so you can add an effect to the shot - in this case it was putting the green screen footage with the background.
To start with you find the background shot you want, my first one was the close up of the fire place, then you find the green screen clip you want to use, which was Paul scratching his arm. You put the clips on top of each other, highlight both, then right click and select Replace with AE composition. This then opens up AE with the clips.
We were told to use this button to preview the footage as it renders it all first, if you were to watch without doing this it would be slow and jittery.
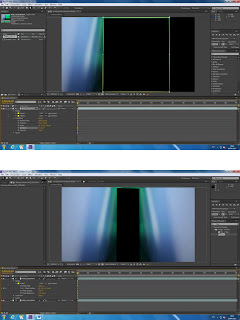
To get rid of the green from around the green screen shot you go onto Effects + Presets and then Keying from this I selected Linear Colour Key and I dragged it onto the image. I then changed the RGB settings on the left to Chroma and used the pipette tool to click on the image which got rid of most of the green to black instead. After you can then use the Spill Suppressor by dragging it onto the clip and then on the left use the pipette and click on the green box under Key Colour to help get rid of any fuzzy green bits that are left over and also use the Matte choker under Matte on Effects + Presets to change the softness and blending around the image.


No comments:
Post a Comment